In this blog post, we’re going to explore a fascinating concept known as ‘Depth of Field’. It’s a technique that allows us to control what parts of our photos are in sharp focus and what parts are blurred out. This can really help to make our main subject pop! Ready to learn more?
Depth of Field plays a pivotal role in photography. It provides you with the ability to dictate the focus of your image, allowing you to create a sense of depth and dimension. This is integral to crafting compelling photographs as it directs the viewer’s attention to the focal points of your composition. It’s akin to having a narrative voice in your visual storytelling.”
Understanding Depth of Field
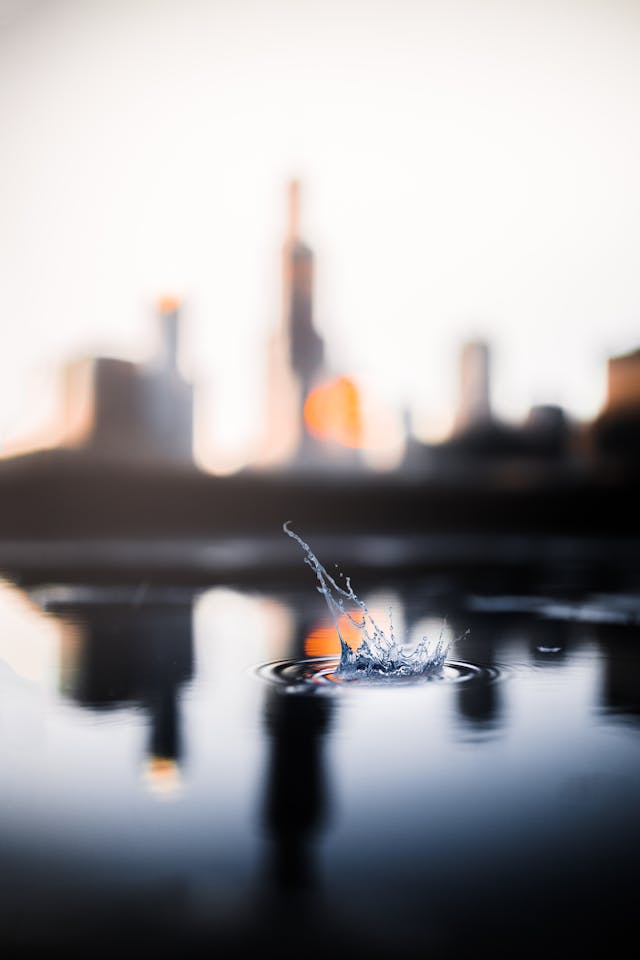
Depth of Field is a fundamental concept in photography that describes the range in a photo where objects appear acceptably sharp. It can be shallow, where only a small part of the image (like the subject) is in focus and the rest is blurred. Alternatively, it can be deep, where most or all of the image is in focus. The control of Depth of Field is a critical aspect of creative photography.
Depth of Field is determined by three primary factors. The first is ‘aperture’, the opening in the lens through which light enters. A wider aperture (represented by a lower f-number) results in a shallower depth of field, isolating the subject against a blurred background. The second factor is ‘lens focal length’. Longer focal lengths can decrease the depth of field, further isolating the subject. The third factor is ‘distance from the subject’. A shorter distance between the camera and the subject will reduce the depth of field, enhancing the subject-background separation.
The Role of Aperture in Depth of Field

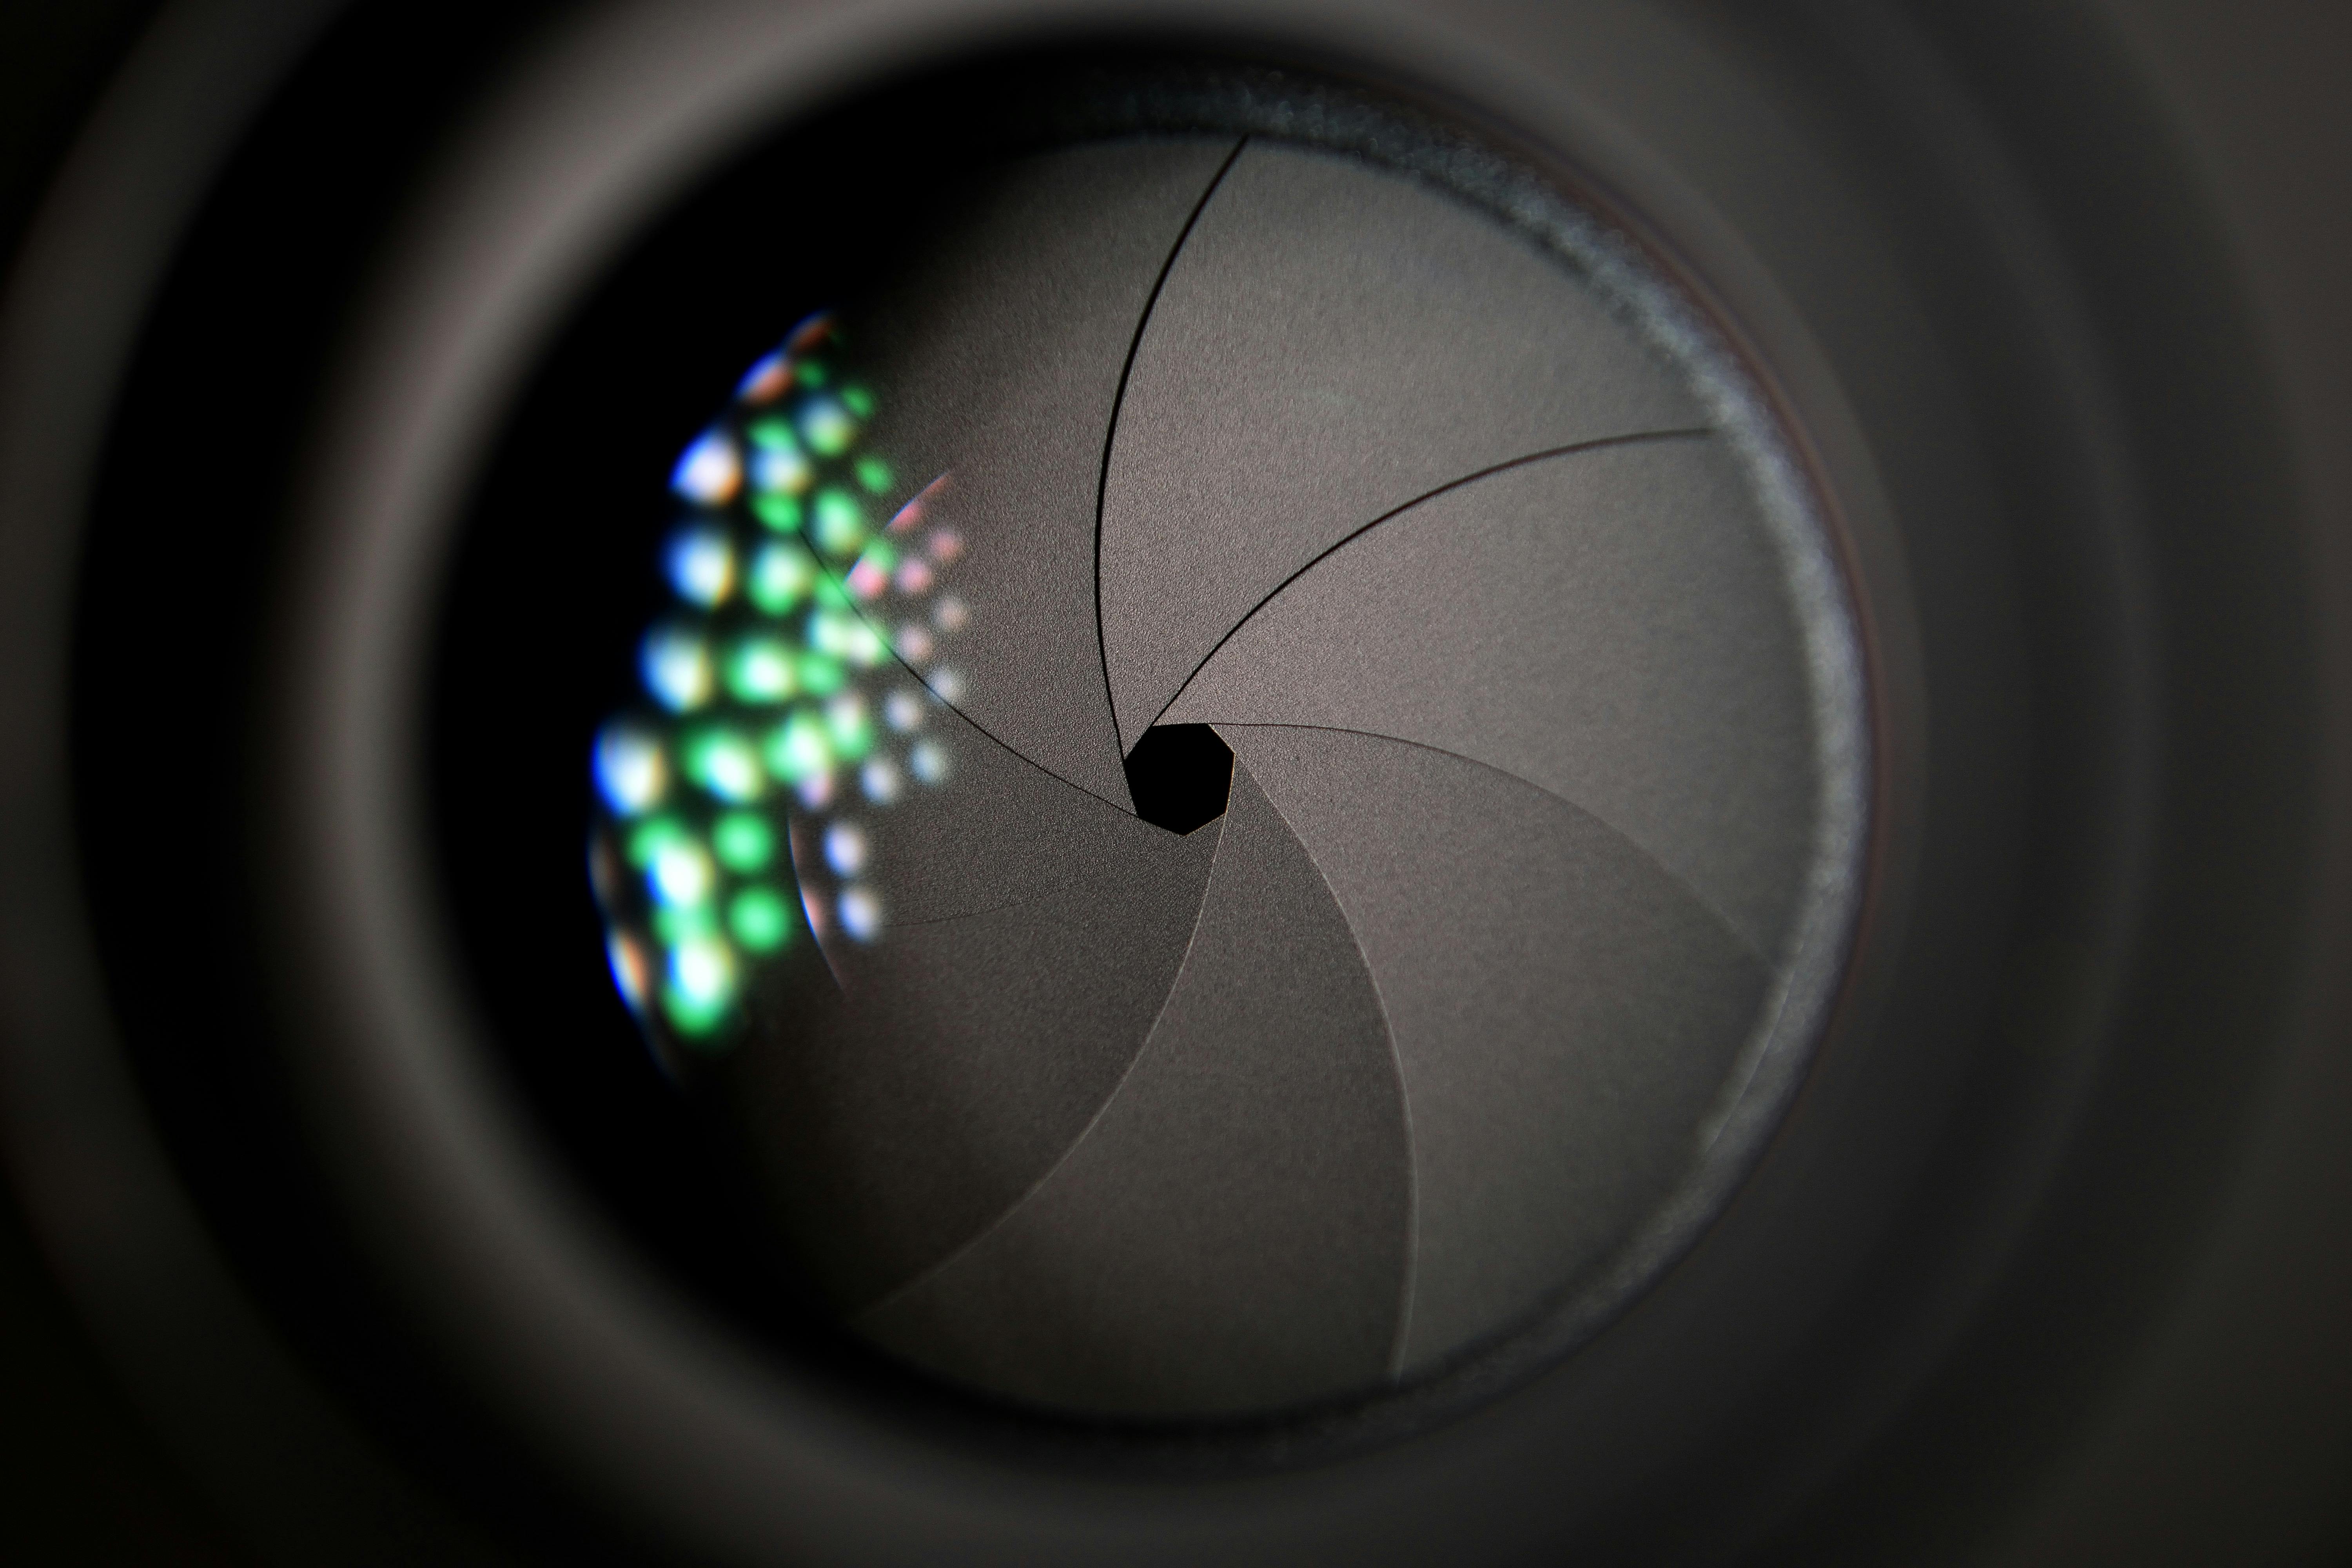
Aperture refers to the diameter of the opening in the lens through which light enters the camera. It’s measured in f-stops, with lower f-stop numbers indicating a wider aperture. A wider aperture (lower f-stop number) results in a shallower depth of field, meaning a smaller portion of the image is in sharp focus, while the rest is blurred. Conversely, a narrower aperture (higher f-stop number) results in a larger depth of field, meaning a greater portion of the image is in sharp focus.
Consider a scenario where you’re capturing a portrait against a cityscape. Using a wide aperture (low f-stop number like f/1.8), the subject’s face would be sharply in focus, while the cityscape in the background would be blurred, creating a pleasing bokeh effect. This is a shallow depth of field. Conversely, if you were to use a narrow aperture (high f-stop number like f/16), both the subject and the cityscape would be in sharp focus, providing a detailed view of the scene. This is a large depth of field.
Using Depth of Field to Create Focus
Suppose you’re photographing a beautiful flower in a garden. You want the flower to be the main focus, right? Here’s how you can use depth of field to achieve that: Use a large aperture (a low f-stop number like f/1.8) to create a shallow depth of field. This will make the flower in sharp focus and the background blurry. Also, try to have some distance between the flower and the background. This technique will make your flower stand out!
Depth of Field significantly influences both the foreground and background of an image. A shallow depth of field, achieved with a wide aperture (low f-stop number), results in a sharp foreground and a blurred background. This is often used in portrait photography to isolate the subject from distracting elements. Conversely, a large depth of field, achieved with a narrow aperture (high f-stop number), renders both the foreground and background in sharp focus. This is typically used in landscape photography to capture detailed scenes.
Depth of Field and Lens Choices

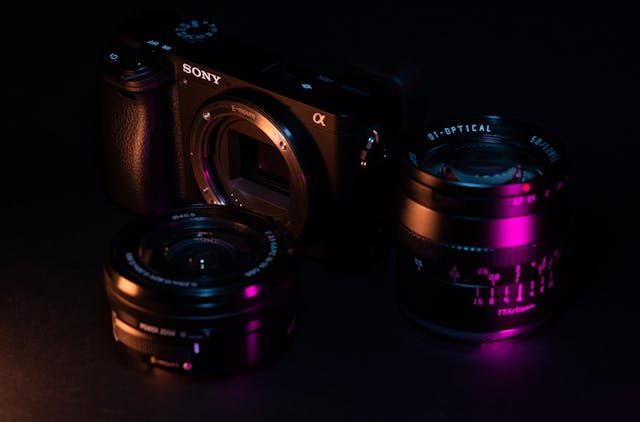
Different lenses can have a significant impact on depth of field. Wide-angle lenses, which have a short focal length, tend to have a larger depth of field. This means they can keep more of the scene in focus, which is ideal for landscape photography. On the other hand, telephoto lenses, which have a long focal length, tend to have a shallower depth of field. This means they can isolate the subject by blurring the background, which is perfect for portrait photography.
For photographers aiming to capture expansive landscapes with a large depth of field, a wide-angle lens with a short focal length is recommended. This lens type allows a greater portion of the scene to be in focus. Conversely, for those interested in portrait or wildlife photography where a shallow depth of field is desirable, a telephoto lens with a long focal length is advised. This lens type can isolate the subject by blurring the background, drawing attention to the subject.
Practical Tips for Controlling Depth of Field
1. Understand Aperture Settings: Familiarize yourself with the aperture settings on your camera. A wider aperture (lower f-stop number) results in a shallower depth of field, while a narrower aperture (higher f-stop number) results in a larger depth of field.
2. Manipulate Subject Distance: The distance between the camera and the subject significantly affects the depth of field. A shorter distance results in a shallower depth of field.
3. Select Appropriate Lenses: Different lenses can affect the depth of field. Wide-angle lenses tend to have a larger depth of field, making them ideal for landscape photography. Telephoto lenses, on the other hand, tend to have a shallower depth of field, making them suitable for portrait photography.
Common mistakes and how to avoid them with Depth of Field
1. Inadequate Focus: A common mistake is using an excessively wide aperture, resulting in a very shallow depth of field. This can cause important elements in your image to be out of focus. To avoid this, consider using a smaller aperture to increase your depth of field.
2. Subject Out of Focus: If your subject is consistently out of focus, you may be standing too close or too far away. Adjust your distance from the subject until you achieve the desired focus.
3. Improper Exposure: If your images are consistently underexposed (too dark) or overexposed (too bright), you may need to adjust your aperture settings. A larger aperture will allow more light into the camera, resulting in a brighter image, while a smaller aperture will allow less light, resulting in a darker image.
Post-Processing for Depth of Field
Post-processing refers to the editing that occurs after the image has been captured. With various software tools, you can manipulate the depth of field in your images during this stage. This allows you to enhance the focus of your subject or modify the blurriness of the background, providing additional control over the final look of your photograph. It’s an essential skill for photographers looking to elevate their work.
Here are some of the software recommendations for post-processing:
1. Adobe Photoshop: This is a professional-grade software that offers a wide range of tools for in-depth photo editing, including depth of field adjustments.
2. Lightroom: Also from Adobe, Lightroom is excellent for photo management and basic to intermediate editing.
3. Affinity Photo: This is a cost-effective alternative to Photoshop, offering a comprehensive suite of editing tools.
4. GIMP: This is a free and open-source image editor that provides a solid range of editing tools.
Recap
In this blog post, we’ve delved into the concept of Depth of Field, exploring its definition, the factors that affect it, and its impact on both the foreground and background of an image. We’ve also discussed the role of different lenses and provided some practical tips for managing Depth of Field. Now, we encourage you to apply this knowledge in your own photography. Experiment with different aperture settings, lenses, and distances to see how they affect Depth of Field. Remember, photography is as much an art as it is a science, so don’t be afraid to think outside the box and push the boundaries of your creativity.

