Pregnancy is a beautiful journey filled with anticipation, joy, and a touch of nervousness. Capturing this special time through a professional pregnancy photoshoot is a wonderful way to celebrate your growing baby bump and create lasting memories. Whether you’re considering a family, maternity, or newborn session, planning ahead and communicating clearly with your photographer is key to achieving the perfect shots.
When it comes to timing your maternity photos, it’s essential to consider the best stage of your pregnancy to showcase your baby bump. Exploring ways to pamper yourself during this exciting time can also help you feel confident and radiant in front of the camera. If you’re in the Jacksonville, FL area, you’ll find plenty of stunning beach locations that provide the perfect backdrop for your elegant maternity portraits. In this ultimate guide to a professional pregnancy photoshoot, we’ll walk you through the essential steps to ensure a successful and memorable experience, from choosing the right location to capturing your pregnancy glow with creative poses and beautiful belly shots.
Choosing the Right Location

Selecting the perfect location for your pregnancy photoshoot is crucial to capturing the essence of this special moment. Consider the following factors when making your decision:
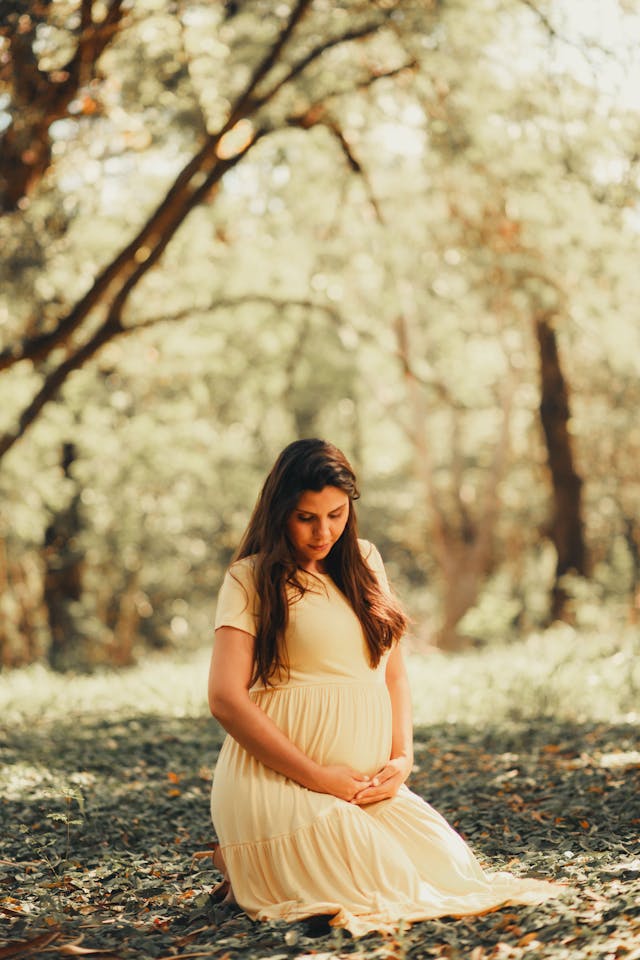
- Outdoor vs. Indoor: Outdoor sessions during the golden hour (an hour and a half before sunset) offer optimal diffused and even lighting, creating a stunning backdrop for your photos. Nature provides a rich and unique artistic feel, with options like parks, nature reserves, beaches, mountains, forests, gardens, and flower farms. On the other hand, indoor studios give you control over weather conditions, lighting, interiors, and props, allowing for classic and timeless portraits.
- Personal Style and Comfort: Choose a location that resonates with your personal taste and style. Whether you prefer a natural, outdoor setting or a cozy indoor environment, make sure you feel comfortable and at ease. Consider the desired aesthetic and style of your photos, and whether you want to showcase seasonal foliage or opt for a more intimate, high-end fine art professional look.
- Meaningful Locations: Think about places that hold special meaning to you and your family. Your home, for example, can show the connection between your pregnancy and the future home of your baby, offering a sense of intimacy and a glimpse into your life before your little one arrives. Other meaningful locations might include a favorite park, beach, or cityscape that you frequently visit or hold dear to your heart.
When selecting a location, also keep in mind practical considerations such as accessibility, privacy, and any necessary permits. Work with your photographer to find the perfect spot that combines the best lighting, stunning backdrops, and a comfortable atmosphere for you to relax and enjoy the experience. Remember, the key is to choose a location that allows you to feel confident, radiant, and truly celebrate this incredible journey of pregnancy.
Preparing Your Outfit


When preparing your outfit for a professional pregnancy photoshoot, comfort and style should be your top priorities. Opt for clothing that showcases your beautiful baby bump while making you feel confident and at ease. Consider the following tips when selecting your attire:
- Maternity Dresses: Form-fitting maternity dresses are a popular choice for pregnancy photoshoots. Look for dresses made from stretchy fabrics that hug your curves and accentuate your growing belly. Maxi dresses, wrap dresses, and dresses belted beneath the bust are all flattering options. Choose colors that complement your skin tone and the desired feel of the photoshoot, such as soft pastels, neutrals, or bold hues.
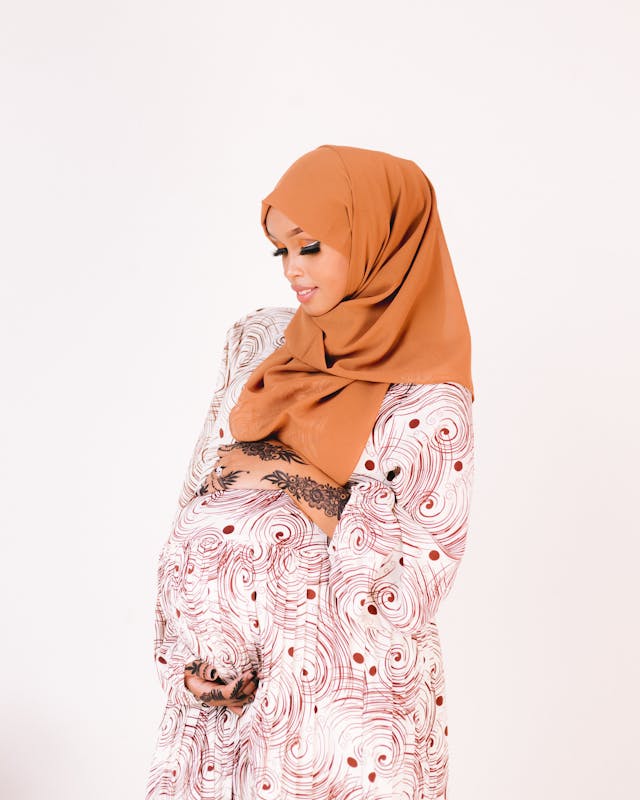
- Layering and Accessories: Dress in layers to add depth and dimension to your photos. A flowy cardigan, a lace robe, or a denim jacket can provide visual interest and versatility. Accessorize with statement pieces like a chunky necklace, a wide-brimmed hat, or a delicate flower crown to express your personal style. However, avoid clothing with logos, wording, or busy patterns that may distract from the focus on you and your bump.
- Coordinating with Family: If your partner or other family members will be joining you for the photoshoot, coordinate your outfits for a cohesive look. Choose a color palette or similar styles of clothing to create a visually appealing and harmonious aesthetic. Solid colors work well for men’s clothing to avoid drawing attention away from the expectant mother. Remember to consider the weather and location when selecting outfits, and bring along a sweater or light jacket in case of cooler temperatures.
Camera Settings and Equipment
When it comes to capturing stunning maternity photos, having the right camera settings and equipment is crucial. A DSLR or mirrorless camera with at least 20 megapixels of resolution is recommended, along with a variety of lenses for different angles and possibilities. Prime lenses with a focal length between 35mm to 50mm are ideal for maternity photography, while lenses like the 85mm are great for capturing more details on the body. For outdoor maternity shoots in low-light environments, consider using 24-70mm or 70-200mm lenses.
To achieve the desired look and feel of your maternity photos, consider the following camera settings:
Aperture:
Set the aperture to f/5.6 to f/8 for group portraits and f/2 to f/4 for maternity portraits to create a beautifully blurred background and shallow depth of field.
Shutter Speed:
Use a shutter speed of 1/1000 for faster movements and 1/50 to 1/60 for stationary maternity poses to avoid motion blur.
ISO:
Keep the ISO as low as possible (between 100 and 400) to minimize noise while ensuring proper exposure.
Shooting Mode:
Shoot in Aperture Priority mode, with the aperture set between f/5.6 to f/11, drive mode set to Single Shot, focus mode set to AF-S, and metering mode set to Center-weighted.
Lighting plays a significant role in maternity photography. For indoor shoots, use soft light from a large window or LED lights, while outdoor sessions can take advantage of natural light. To control fill light, consider using a flash or reflector. When shooting in a studio, you’ll have more control over the lighting setup. Use a back or side light source to rim the shape of the body and remove distractions in the background using post-processing software.
Additional equipment to consider includes photography backdrops to create specific aesthetics, block unwanted fixtures, and add detail, as well as a tripod and remote shutter release for sharp images. By carefully selecting your camera settings and equipment, you’ll be well-prepared to capture the beauty and essence of this special time in an expecting mother’s life.
Posing for Pregnancy Photos


Posing for maternity photos should be comfortable and natural, emphasizing the beauty of pregnancy. Here are some classic and creative poses to consider:
- Belly Emphasis: Highlight the baby bump by having the mother-to-be:
- Hold her belly while standing or sitting, both from the front and sideways
- Use the “Soothing Touch” pose, with one hand on her belly and the other gently touching her face or hair
- Adjust hand placement to accentuate the stomach’s shape without making it look too big or small
- Couple Poses: Capture the bond between the expecting parents with:
- The “Embracing Couple” pose, where the couple stands or sits facing each other, with the belly prominently displayed
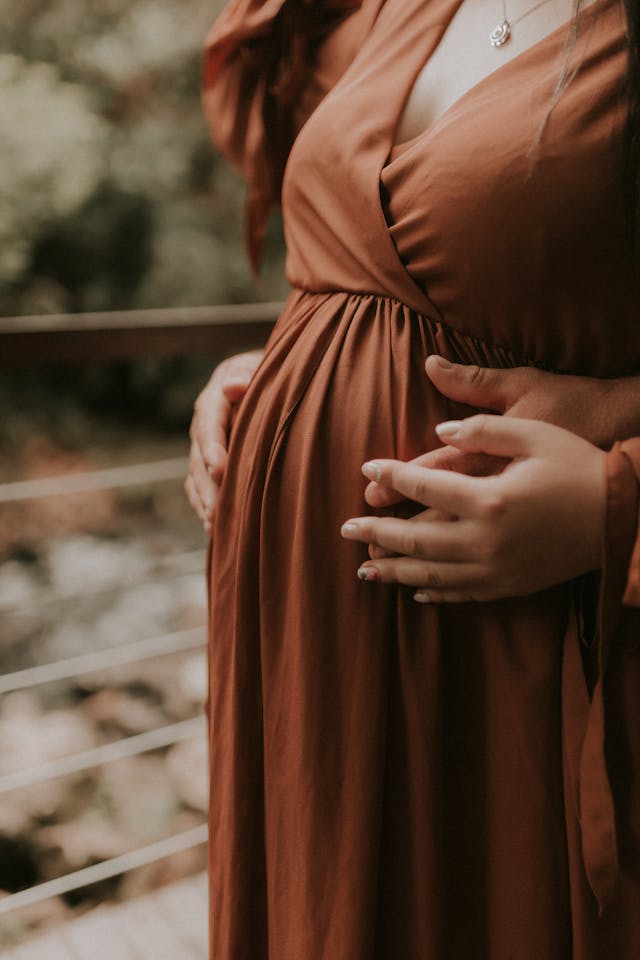
- Tender touches, like the partner’s hands on the mother’s hand, back, or belly
- Back-to-front poses, showcasing closeness and interaction
- Both standing and seated poses for variety
- Creative and Group Shots:
- Gather family members around the mother-to-be for a group hug
- Seat the expecting mom in the center with family members in a circle around her
- Take one-on-one photos of the mother with siblings or pets
- Capture close-up shots of the parents with the baby bump
Remember to prioritize the mother’s comfort and safety, as certain poses may be challenging with a growing belly. Trust your photographer to guide you through poses that flatter your features and create stunning, emotive images. Experiment with different angles, hand positions, and lighting to find what works best for you and your family.
Involving Family Members
Involving family members in your pregnancy photoshoot can create cherished memories and strengthen familial bonds. When including young children, schedule the session later in the day after they’ve had a longer nap to ensure they’re well-rested and cooperative. Encourage kids to interact with the mother’s belly by making the session fun through games and jokes. This will help them feel more engaged and excited about the new addition to the family.
Dads play an important role in the family’s legacy, so encourage them to participate in the session as well. Family maternity photo poses can capture the expecting mother with her loved ones, such as:
- The family hug: Everyone gathers around the mother-to-be for a warm embrace
- Family tree: Position the family members in a way that symbolizes their growing family tree
- Grins and giggles: Capture candid moments of laughter and joy
- Holding hands: Symbolize the coming together of your family with the new arrival
- Reading a book or playing a game: Incorporate activities that showcase your family’s unique dynamics
When planning your family maternity photos, focus on what makes your family special and use props that truly represent you. This could include special items or objects that hold meaning for your family. Remember to go with the flow and capture what feels right for your family. Pets can also be included in the photoshoot to add a personal touch.
Using Props Effectively

Props can add a personal touch to your pregnancy photoshoot, making it more meaningful and memorable. Discuss your ideas with your photographer to ensure they can help capture the kind of shots you want. Some popular prop options include:
- Ultrasound Image: Incorporate the first image of your unborn child to celebrate your pregnancy journey.
- Baby Clothes: Use adorable outfits as props to give a sneak peek of what’s to come.
- Letterboard or Chalkboard: Create funny, heartfelt messages or big announcements.
- Balloons: Add color and charm to your maternity shoot with various colors and shapes.
- Books: Reflect your preparation for your baby by reading about childcare.
- Teddy Bear: Symbolize your baby’s first stuffed animal with this keepsake prop.
- Floral Crown: Add a regal touch to your maternity photoshoot with a crown made of fresh flowers.
- Pregnancy Pillow: Provide support and comfort during the photoshoot with this essential prop.
When selecting props, consider coordinating them with your maternity session theme and reflecting your personality [40]. Seasonal themes can also inspire appropriate prop choices. Remember to prioritize safety and comfort when using any props during your photoshoot.
Encourage parents to bring ultrasound photos or objects with the child’s name. Other sentimental items, such as items from the nursery’s theme, baby blankets, or special baby outfits, can also be incorporated. By using props effectively, you can add a personal and meaningful touch to your pregnancy photoshoot, creating cherished memories for years to come.
Playing with Angles and Composition
When it comes to capturing stunning maternity photos, playing with angles and composition can make a world of difference. Experiment with different compositions such as shooting up high, straight on, from the side, or creating a silhouette. Shooting at eye level emphasizes the model’s face and body, making her the center of attention. However, shooting from above can help slim down features and provide a more flattering result, particularly for women who may be self-conscious about weight gain during pregnancy.
Use the environment to your advantage by framing out unwanted background elements, placing your subjects in the light in front of a darker background, creating depth by moving back and zooming in, and rotating your subjects to create natural kicker lights. Remember, the goal is to capture the joy these parents feel while ensuring the mother-to-be feels comfortable and likes the way she looks. Avoid any angles or specific poses if the mother requests, and focus on getting creative while keeping the spotlight on her and her beautiful baby bump.
In post-processing, you can further enhance your images by:
- Darkening the background slightly to make the subject pop more
- Using a radial gradient to add exposure to the subject and draw focus away from distractions
- Applying the blending mode ‘screen’ or ‘lighten’ to add a sun flare or spotlight to the image
- Adding a yellow layer with the blending mode ‘soft light’ to infuse warmth into the sun flare or spotlight
Editing Tips for a Professional Finish
When it comes to editing your maternity photos for a professional finish, there are several techniques you can use to enhance the beauty and radiance of the expecting mother. Adobe Lightroom and Photoshop offer a variety of tools and brushes to help you achieve the desired look:
- Lightroom Brushes:
- Use the “Smooth as a Baby’s Bottom” brush for a glowy, smooth brightness
- Add color to cheeks with the “Pink Cheeks” brush
- Enhance lips with the “Sweet Baby Lips” brush
- Define eyelashes with the “Define Lashes” brush
- Brighten the image with the “Exposure Brighten” brush
- Correct skin imperfections with the “Balance Blotchy Skin” brush
- Apply these brushes subtly for a natural look or heavily for a more polished appearance
- Photoshop Techniques:
- Use the Basic Frequency Separation technique for skin retouching
- Remove blemishes with the Clone Stamp Tool
- Smooth out skin using the Mixer Brush Tool
- Make subtle changes and create a Curves Adjustment Layer for contrast
- Use the Content-Aware Fill tool to fix the background
- Utilize the Liquify Filter for body contouring:
- Adjust the waistline, stomach, neckline, and jawline
- Make the baby bump more prominent or adjust its size and shape as needed
- Remove swollen highlights on feet and ankles
- Color and Exposure Adjustments:
- Use the Hue tool to change the color of clothing
- Adjust exposure, contrast, shadows, whites, and blacks
- Create three nodes on the tone curve for optimal tonal range
Remember to make subtle, natural-looking edits that enhance the beauty of the expecting mother without overdoing it. Maternity session galleries are typically sent within 1 week of the session, allowing time for careful editing and retouching. By following these editing tips, you can create stunning, professional-quality images that celebrate the miracle of pregnancy and the joy of anticipating a new life.
Final Remarks
Capturing the beauty and joy of your pregnancy journey through a professional photoshoot is an experience you’ll cherish for a lifetime. By carefully selecting the right location, preparing comfortable and stylish outfits, and involving your loved ones, you can create stunning images that celebrate this special time. Experimenting with creative poses, angles, and props will add a personal touch to your photos, while skilled editing techniques will ensure a polished and professional finish.
As you embark on this exciting chapter of your life, remember to embrace the miracle of pregnancy and the love that surrounds you. For more helpful tips and tutorials on photography, be sure to check out other Bokeh Highlight Tutorials. With the right preparation and mindset, your maternity photoshoot will be a beautiful reflection of the love and anticipation you feel for your growing family.
FAQs
What is the recommended pregnancy stage for scheduling a photoshoot? The ideal time for a maternity photoshoot is when you are between 30-36 weeks pregnant, which falls into the 7-8 months range. For those expecting multiples like twins, consider planning your photoshoot a bit earlier, around 26-32 weeks or 6-7 months into the pregnancy.
How should one prepare for a maternity photoshoot? To prepare for a maternity photoshoot, you should bring all necessary items, including camera gear, various clothing options, props, and a mirror. Ensure the expectant mother is comfortable, as the third trimester can be quite challenging. Provide clear instructions to your subject and pay close attention to the small details. Frequently check your camera settings to ensure the best quality photos.
When is it advisable to conduct a pregnancy photoshoot? Clients are often advised to schedule their maternity photoshoot between 30-36 weeks of pregnancy. However, it’s crucial to start planning early due to the limited time frame of one month and to secure a booking in advance.
Which trimester is considered the best for taking maternity photos? Many find the second trimester, spanning weeks 14 to 27, to be the best time for maternity photography. During this phase, expectant mothers usually experience more energy, less morning sickness, and have a noticeable yet comfortable baby bump.

